New Year Special Discount Offer - Upto 20% Off on all Course Fees - 1 Seat Available
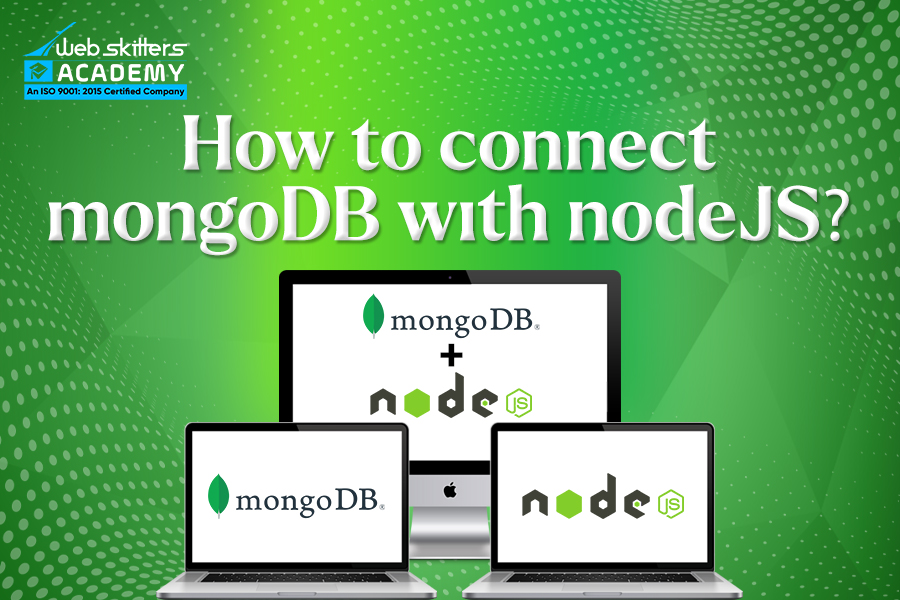
MongoDB and nodejs both are very popular terms in today’s world. If you are a little bit aware of client-server architecture, then you must know that node and MongoDB, both are required for the backend which is the server portion. Maybe some of you already know their particular role of them at the backend, which is, that Nodejs is the technology that is responsible for creating the backend server and MongoDB is the no-SQL database. If we have to deal with the server side, we must connect the server with the database as we need to store multiple data for future use.
Today in our blog we will focus on the concept of MongoDB connection in nodejs. This can be achieved in two ways. For the first way, we will connect through the MongoClient library, and in a second way, we will use the Mongoose library.
Required precondition
To move further for connecting MongoDB with node we need the following as perquisites:
- The supported version of NodeJs must be installed on your machine
- Either an installed MongoDB instance must be present in the machine or you can use MongoDB atlas with a registered account.
- Basic knowledge of NodeJs and ExpressJs
- Basic knowledge of database management concepts
Database creation in MongoDB atlas
Before connecting the MongoDB database to nodejs we have to create a cluster and a database in MongoDB using some steps.
Step 1: Before connecting with the database, it is mandatory to create the database. If you are signed in MongoDB atlas, then you will get to see the below screen. You have to set up the database as well as the accessing network’s IP address for the particular machine and also for access from anywhere.

Step 2: If the setup is done for the database, then clicking on the database under deployment, we can get the desired connecting link which will help us to connect our nodejs project to MongoDB.

Step 3: If you click on connect (marked in the image) you will see a dialogue box with many options, where you have to click on ‘connect your application’. Then the below dialogue box with the desired link will be shown. In the below diagram the place is highlighted from where you have to copy the connecting link.

This link will be used later on to set up the connection. It is required for both the way i.e., for MongoClient as well as for mongoose library.
The MongoClient process
Install the MongoDB Node.js Driver
At first, you have to install the MongoDB nodejs driver in your project which allows you to interact with the MongoDB database easily and helps to connect the database. To install the driver following command will be used in the terminal.
Setup for database connection in the project
- At first, you have to import the MongoClient tool which is exported from the MongoDB module. This tool will give the connect method for building the connection with the database.

- Then you have to store the connecting URL in a variable and made some changes according to your account setup, for example, you have to write your username and password of your MongoDB account in the URL, and choose a database name according to your project and that also must be present in the URL. Though you can access the URL directly in the connect function, to avoid clumsiness for changing value we prefer to do it separately.

- Now we can access the connect method of MongoClient in the following way to connect MongoDB and nodejs. The connect method always returns a javascript promise, so you can use the try and catch block method also, along with an async-await method to connect with the database.

Using Mongoose Library
Mongoose is the object data modeling library of MongoDB. So it has some inbuilt functionality to reduce the code of MongoDB and to build more structured code. In fact, we do not need any MongoClient tool also, as Mongoose has the connect method by default; we just need to use it in a proper way.
Install Mongoose
We need to install the mongoose package to have the proper access. Below command will be used for installation:

Do the imports
After the installation, we need to import mongoose. Here the connect method will handle the server creation at any port. You can choose the port number at the listening to the method, but it will be a good choice to store the port number before, and then access the dynamic value at the time of server port creation. And this can happen with any listening method, it is not dependent on the mongoose.

Let you have chosen 1234 as a port, so you have to write:
const PORT=1234;
The variable name is written in capital to identify as a different variable easily.
Store the connection link
It is the same as MongoDB URL. We will store the connection link in a variable and then will change the username, password, and database name.

Setup to connect with database
This is the last step where we will access the connect method. If the database will be connected then using the listen-to method we can do the setup for the port.

Conclusion
We have discussed the MongoClient method as well as The Mongoose method. If you are familiar with mongoose, according to me it will be easier to connect through mongoose, because for MongoClient you have to return the database in the project after a successful connection to access it properly. That can be done in the below way:

But this is not required for mongoose, after connection build you will get full access to the database. Now you can choose the better one for your work.
Do you want to learn more about the topic? Let us know and we will share it with you!

Soumi
Soumi, having done her MCA from a reputed University, is inclined to train young minds and shape their future in the IT industry. Currently, she is a part of the faculty of Webskitters Academy, disseminating valuable training to the students to enhance their career prospects. She possesses immense technical knowledge and believes in sharing it through her teachings and writings.
Search
I Want to Learn...

Category
Explore OurAll CoursesTransform Your Dreams
into Reality
Subscribe to Our Newsletter
"*" indicates required fields
Similar Reads